A Little Bit | etc. Logo

How To Create a Basic Makeup Routine

| ,

I love doing my makeup every single day. But many people shy away from wearing makeup everyday because they may not want to wear a full face. Having a polished makeup look doesn’t mean you have to wear a dozen products, or spend a long time in front of the mirror. A basic makeup routine can be as effortless or polished as you want it to be. In today’s post, I am going to share a basic makeup routine that that feels natural, flattering, and easy to personalize with your preferences.

For more posts about makeup techniques and recommendations, here are some recent posts to check out:

What Order to Apply Makeup

Best Drugstore Makeup For Mature Skin

No Makeup Makeup Products

What Is A Basic Makeup Routine

A basic makeup routine typically includes a few key products to help enhance your natural features. That usually consists of a complexion product to even out the skin tone. Mascara to help define the lashes. A cheek color or bronzer to add some color to the face. Finally, a lip color of your choice to complete the look and balance out the face. The exact routine can vary based on skin type, skin tone, desired coverage, and personal preference.

How To Start A Basic Makeup Routine

Find images of inspiration

Whether on Pinterest or social media, try to find makeup looks that you love. This will give you an idea of your own personal makeup preference and style.

Visit a makeup counter or makeup store

While so much is available online, there is nothing like a good ol’ fashioned makeup consultation or a basic makeup lesson. It is how I learned and how I was able to get more knowledge of makeup techniques. You can visit a department store, Sephora or even a local salon for help on understanding your skin tone, the order of makeup application and how to achieve the looks you want.

Start small

You do not have to revamp or identify your everyday makeup look all at once. I like to recommend a product for each portion of the face so the finish look is balanced. One product for the eyes (mascara, eyeshadow, liner, etc), one product for the cheeks (blush, bronzer, etc) and one product for the lips (lip gloss, lipstick, etc).

Research different brands

Is there something specific that you want out of a brand? Are you wanting cruelty free products? Vegan products? Make a list of the brands that fit your own criteria and then look at the products that they offer.

Stick with neutrals

For a basic makeup routine, it’s best to choose makeup products in neutral tones.

Basic Makeup Routine Steps

Prep Your Skin

This may seem like an inconsequential part of your makeup steps, but ensuring your skin is nicely prepped before makeup is key to longevity and having your makeup look more natural overall. I will do my entire morning skincare routine first thing but I like to make sure my skin is well hydrated immediately before I apply any foundation, concealer or any complexion product. Often my SPF can prep my skin nicely for foundation. But if I don’t apply my foundation right after my SPF then I will use something to add a bit more moisture to my skin like this glazing milk.

Apply Your Complexion Product

This step is one of the most important steps of a basic makeup routine because it will create a blank canvas for the face. That complexion product could be a foundation, skin tint, tinted spf, etc. It’s best to go with a formula you will feel comfortable wearing every day. My biggest tip in applying foundation is to start with a small amount and build up as you need it. Especially if you are using a foundation that offers medium coverage or full coverage, it’s best to start with a sheer layer and build up. Some people only apply foundation where they feel they need it. And others (like myself) apply foundation over the entire face.

I like to apply my foundation to the four main parts of my face and blend it out from there. I will put a bit on each cheek, my forehead and then on my chin. You can use either a makeup brush or sponge depending on your preference. Then begin the blending process in the center of the face and work your way out.

Here are a few of my favorite foundation formulas:

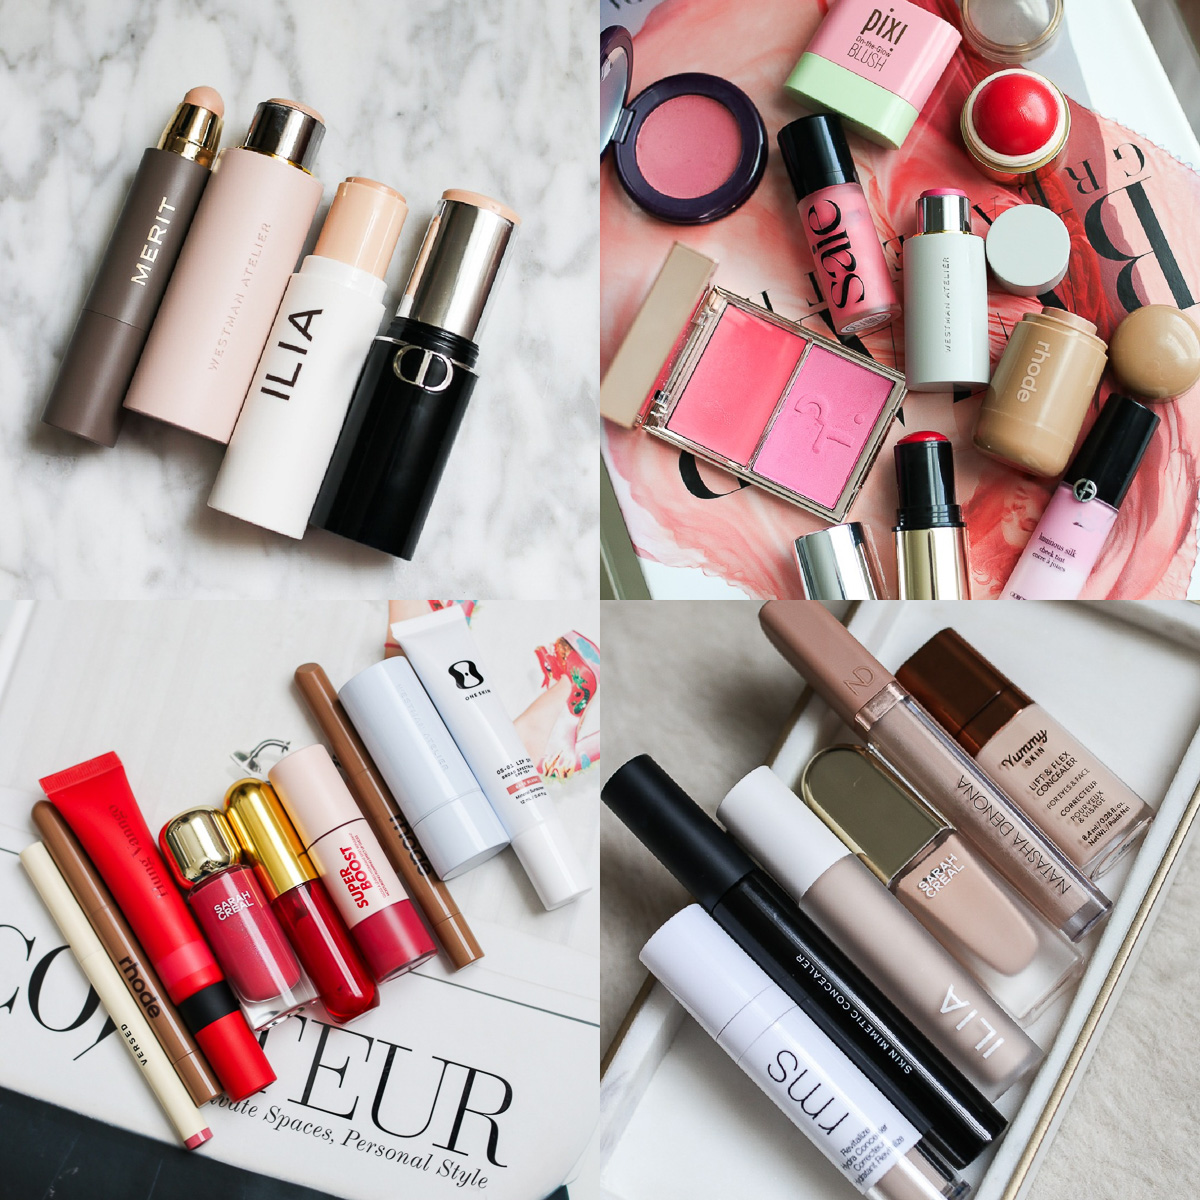
Westman Atelier Vital Skin Foundation Stick

This gives light coverage that can be built up, blends in seamlessly and makes your skin look like it’s just had a facial. It’s fresh and dewy without ever being too glowy. It is truly the perfect embodiment of a skin-like complexion product that manages to look better as the day goes on!

Merit Beauty The Minimalist Perfecting Complexion Stick

The Merit Minimalist Complexion Stick gives a creamy satin finish to the skin, sheer to light coverage and easy application with the stick format.

Natasha Denona Hy-Glam Foundation

If you want a true foundation for special occasions, this is fantastic. The key for me is using the tiniest amount of product and applying it with a damp makeup sponge. It’s one of the longest lasting formulas I’ve tried while still keeping a hydrated and blurred finish throughout the day.

Add Concealer

Not necessary for a basic makeup routine, but applying concealer can be an added step to help cover a dark under eye area or areas of your face that foundation did not. My foundation usually will cover everything I need. If it doesn’t, I will use concealer under my eyes to brighten my dark circles or on any dark spots or blemishes I may have.

These are two of my current favorite concealers:

Ilia Skin Blur Serum Concealer

An absolute dream for mature skin! This concealer truly blurs in the most amazing way. It has a satin finish that gives a soft focus luminosity to the skin. In addition to the incredible blurring properties, it stays put all day long.

Sarah Creal Beauty Face Flex Concealer & Complexion Enhancer

The Face Flex Concealer and Complexion Enhancer is designed to be a multi-purpose complexion product that moves with your face throughout the day without creasing or fading for up to 12 hours. It conceals, corrects and adds just enough coverage.

Apply Eyeshadow

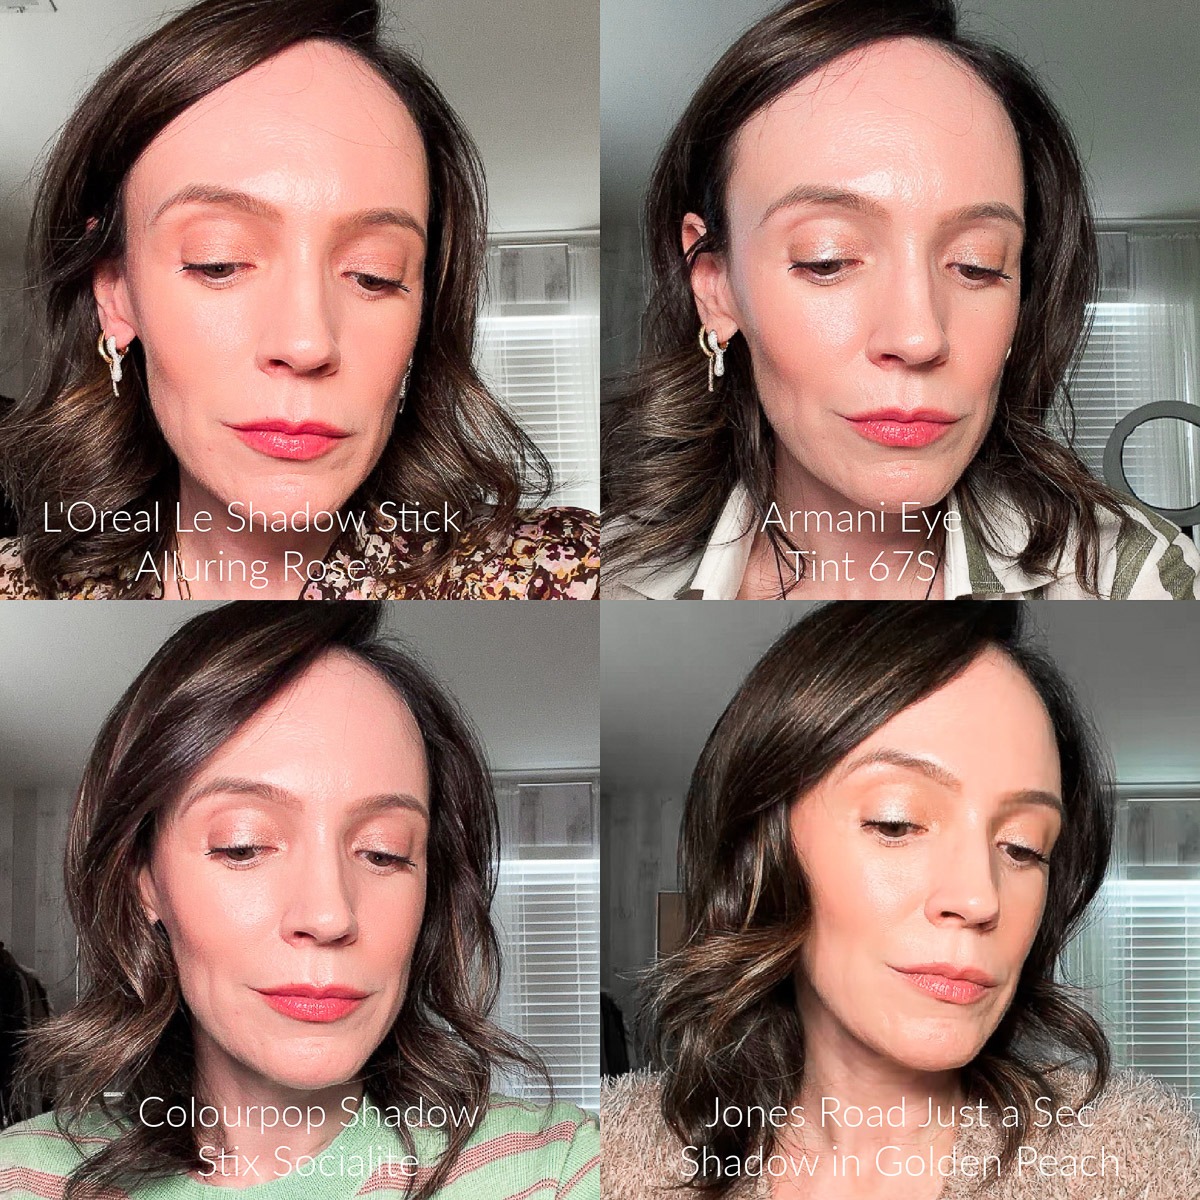
You don’t have to wear eyeshadow everyday but if you want to, this is the step to apply it. Either use your finger or a makeup brush to apply. Choose something neutral in tone and subtle to simply enhance your natural features.

Eyeliner Next

A basic makeup routine doesn’t necessarily include eyeshadow, eyeliner and mascara so do feel like you need to wear all three. Mascara is the one product that I feel makes the most difference but adding eyeliner or eyeshadow a great additional step to make the eyes pop.

Finish With Mascara

Mascara can really help to define the eyes even without any makeup on them. It’s the one product for the eyes that I recommend as a must have for a basic makeup routine.

This is my current holy grail mascara formula:

Tarte Tubing Mascara

My favorite mascara that I constantly repurchase. No smudging or flaking.

Define the Brows

If you eventually want to update your basic makeup look, this is a great step to add into your routine. Adding a bit of definition to the brows either by using a brow pencil or brow gel can help to create a polished eye look.

Apply Bronzer

Bronzer is a great product that can sculpt your face and add warmth to the complexion. It’s important to add some color to the cheeks in the form of a bronzer or blush to keep the makeup look balanced. If you decide to use both bronzer and blush for your look, apply your bronzer first. Choose a shade that is similar to your skin tone without being too dark to give the face a sun kissed look.

Here are two of my favorite bronzer formulas:

Makeup by Mario Skin Enhancer

This is a lightweight sheer cream bronzer that can be used on specific parts of the face or all over to give a subtle radiant glow. It’s a complexion balm that adds warmth to the complexion and can be used to even out the skin tone.

Rhode Pocket Bronze

These bronzers were the launch of the season! I am a HUGE fan of the pocket blushes so I had high hopes for these new bronzers. Thankfully they live up to the hype for me especially the shade Pebble. Creamy, easy to blend and long wearing.

Apply Blush

Adding blush after your bronzer will help to add a bit of a natural flush to the cheeks. It’s not necessary for a basic makeup routine, but choosing some type of cheek color (blush or bronzer) is essential to creating a polished look. Deciding on a cream or powder option depends on your skin type and personal preference. Start with just a small dusting on the cheeks and see how that looks before applying more. It’s always easy to add more blush than to remove too much.

Here are two of my favorite blush formulas:

Rhode Pocket Blush

The Rhode Pocket Blush is a cream blush formula designed to give a diffused wash of color with a satin finish. They are a lightweight formula that melts into the skin easily without leaving a tacky or greasy feel. They leave my cheeks looking fresh without being too dewy or shiny.

Sarah Creal Blurring Pressed-Mousse Blush

If you don’t want something dewy or anything that leaves a glowy finish, this Sarah Creal cream-to-powder formula is a must try. It is one of the most beautifully blurring formulas I’ve ever tried while still leaving a soft focus powdery finish. As someone who is usually a glowy cheek fan, this has become one of my favorite blush formulas.

Set With Loose/Pressed Powder

Even a basic makeup routine could benefit from a setting powder. There are loose and pressed versions so it can take a bit of trial and error to decide on a texture that works best for your personal makeup needs. Most setting powders are best applied throughout the t-zone of the face which is where most people will get shiny or oily. I have dry, mature skin and still use a setting powder to help create a smooth finish to my makeup. It can also help extend the longevity of whatever complexion product you are wearing.

This is the pressed powder I wear every single day:

Givenchy Prisme Libre Pressed Powder

This pressed powder is blurring and helps to mattify slightly but still leaves a soft luminous finish to the skin.

Lip Liner

For a basic makeup routine, lip liner may feel like an unnecessary step. I do recommend it for those with mature lips because that added bit of definition can make a huge difference. You can either use lip liner just around the edge of your lips. Or if you want to help your lip color last longer, apply it all over the lips. Typically lip liner formulas are quite pigmented and long wearing. So even if your gloss or lipstick has worn off, your lip liner is still there.

When applying lip liner, use short feathery strokes rather than drawing it on like a pencil. This looks more natural and soft and requires less blending afterwards. Usually once I have applied my lip liner, I will smudge it out just a bit with my finger to soften the look even more. I try to follow the natural shape of my lips rather than lining too far outside the edge of my lip.

Here are my two most worn lip liner formulas:

Versed Lip Frame

With a thicker contour liner, you get a smudged soft look from the first application. No harsh lip liner lines with this.

Rhode Peptide Lip Shape Liners

The Rhode Peptide Lip Shape liners are designed to be a soft-focus blurring formula that enhances the lip shape while also delivering skincare benefits. They are meant to give the lips definition and dimension without any harsh lines.

Lipstick

Whatever lip product you choose to wear will depend on your personal preference for texture, feel, longevity, etc. Most lipstick formulas will provide more coverage and possibly be more long wearing than a lip gloss or lip oil. If you want something that you don’t have to reapply as often, choose a medium to full coverage lipstick formula.

Finish With Gloss

If you prefer a more glossy/shiny finish to the lips with a bit less coverage, a lip gloss could be a better option to finish off your basic makeup routine.

This is one of the best lip gloss formulas I’ve tried:

Sarah Creal Beauty No Further Questions High Glide Peptide Lip Gloss

The formula is creamy and intensely nourishing while the pigment is just opaque enough to give the perfect amount of color.

The Best Hair Growth Products

|

I’ve always had relatively thin hair but no major issues when it came to thinning or hair loss. That was until I hit my early 40’s and slowly began seeing the receding of my hair line and some really sparse spots around my face. My ends also became dry and dull, which led me to use hair oils. Whenever I would pull my hair back, I had really severe widows peaks and patches where I was almost bald. Because I wear my hair down most of the time, I was able to hide it but finally decided to see if I could make an effort to grow it back or at least thicken what I had left.

While I know a ton about skincare and makeup, hair care is not something I am interested in as much. So I was very overwhelmed trying to decide where to start. I decided to focus on my scalp health because from what I have read that is where you can make the most difference in helping in hair growth efforts. I started with one product in my routine and slowly built up my arsenal from there. It was too much to do it all at once. So trying one product at a time seemed more doable and less daunting. After more than a full year on my hair journey, the results speak for themselves.

Best Hair Growth Products

The pictures that I am sharing below are the main areas that I was losing hair and now have grown back more than I lost. My hair line is fuller and all of my sparse patches are nearly filled in. It’s been slow and has taken a long time just to get this far. But after feeling a bit hopeless and scared, I am so happy with the results. I have tested out a bunch of hair products over the past year and have identified five that have made the most difference in my hair journey. These may not work for everyone and I know there are numerous more products out there to try but these have been the best for me so I thought I would share them in today’s blog post.

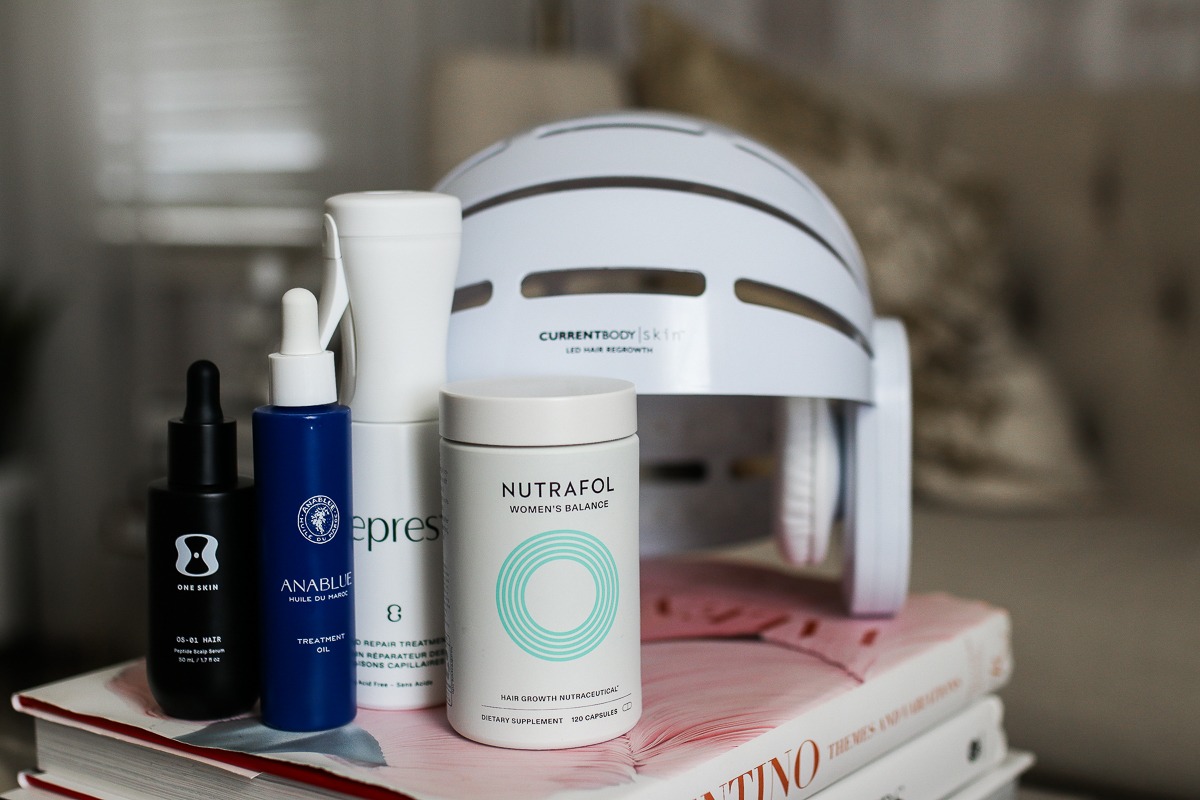
OneSkin OS-01 Hair Peptide Scalp Serum (discount code: MAREE15)

I am a huge fan of OneSkin products so I knew instantly that I wanted to try the Peptide Scalp Serum when it launched earlier last year. Fast forward to present day and my hair has grown faster and thicker than any other scalp serum I’ve tried. It’s not greasy or heavy and doesn’t weigh my roots down.

You are supposed to apply this once a day directly to the scalp and massage it in. It doesn’t matter if you apply it in the morning or evening but I apply it in the morning. It is a liquid so it took some getting used to having my scalp feel a bit damp immediately after. But it would dry after a few minutes and I could style my hair as normal. I used the Vegamour scalp massager with it. And would make sure I was massaging it in for at least a minute.

Then I began to see the first signs of hair growth around the 3-4 month mark.

It takes a LONG time so be patient. I slowly saw growth around my hairline where I was seeing the worst signs of thinning. It’s a process but the proof is in the results for me. It has not changed my hair texture or thickness, just stimulated new growth. My hair is still very fine but those thinning spots are virtually gone.

Vegamour Scalp Massager

Even if you don’t want to invest in a scalp serum right now, utilizing a scalp massager in your everyday routine is a great habit to start. Massaging your scalp every single day for at least a minute if not a few minutes will really help the health of your scalp. It stimulates natural oils and boosts circulation to the scalp. Be sure to use a very light touch but consistent scalp massages will ultimately help the health of your entire scalp.

Anablue Scalp Cleanser (discount code: MAREE15)

I have used a scalp scrub off and on for years to help remove build up and give my scalp a thorough deep clean but this one has stood out as a favorite. I have put aside all other scalp scrubs in favor of this one and repurchased it a few times already. It is a salt scrub that I use once a week. And it makes my scalp feel balanced, soothed and helps give it great volume.

Anablue Treatment Oil (discount code: MAREE15)

Scalp oiling was something I had heard of but wasn’t sure it would be a process that my scalp could benefit from. It is suggested to help with hair growth because it can be great for scalp health. I first decided to try a scalp oil from Briogeo because I loved the brand and found that their products really worked for me. But after using the scalp oil for nearly 3 months, I noticed that I was shedding more during my showers than ever before. So I immediately stopped using that oil and decided to give it one more shot with this treatment oil from Anablue because I loved the Scalp Cleanser so much. The shedding stopped and I have actually begun to lose less and less hair when washing than ever before.

I use the scalp oil once a week on the same day that I use the scalp cleanser. I will section off my hair, apply the oil directly to my scalp all over my entire head. And then massage it in with my scalp massager for 2-3 minutes. After that, I will leave the scalp oil on for 1-2 hours before I wash my hair. Because this particular oil is so lightweight, it does not weigh my hair down or leave any residue after I am done washing.

Currentbody LED Hair Growth Helmet (discount code: ALITTLEBITCB)

I am already a fan of the Currentbody LED face masks and have found them to be incredible for helping my skin in so many ways. I was already using all of the other products in my routine regularly before I added this LED helmet to my process. While the other products I was using were instrumental in starting the hair growth, using the helmet sped up the process. It’s important to be consistent with it in order to see results so I use it 5-6x/week for 10 minutes. It is designed to thicken hair, increase hair density and increase hair growth rate. My hair growth was slow and steady until I added this LED helmet which really sped up the process.

Epres Hair Bond Repair Treatment

I’ve been on a hair journey for nearly two years. Trying to stimulate growth and help get my hair to a healthier state. I’m pretty happy with how things are progressing but was contemplating adding in a bond repair treatment once a week. I’ve heard amazing reviews about this particular formula so I’ve been testing it out for the past few months. I use it once a week before I shower drenching my dry hair with the solution and leaving it on for 10 minutes. I’ve noticed a HUGE difference in the ends of my hair and overall health of my hair.

Nutrafol Women’s Balance Hair Growth Nutraceutical

This has been recommended to me for soooooo long by tons of my readers and IG followers so I finally decided to add it into my routine. Mainly because I felt I was at a bit of growth plateau and thought this could help. I’m now on my second bottle because hair growth is slow so it’s important to remain consistent with products for many months before deciding if they are working or not. As with so much of my hair growth journey, I don’t notice a difference day to day. But after about 6 weeks of taking this Nutrafol supplement, I began to notice how full and thick my hair appeared. I made sure not to change anything else in my routine to truly identify if this was making a difference. My hair has not felt as thick or full as it does currently which I can now attribute to the Nutrafol supplement. It’s a pricey investment but my hair truly looks so much better than it ever has before. I don’t have a discount code but I did find a code that will get you $15 off! (Use code: SM15)

Related: How To Keep Your Hair Hydrated

Past Posts

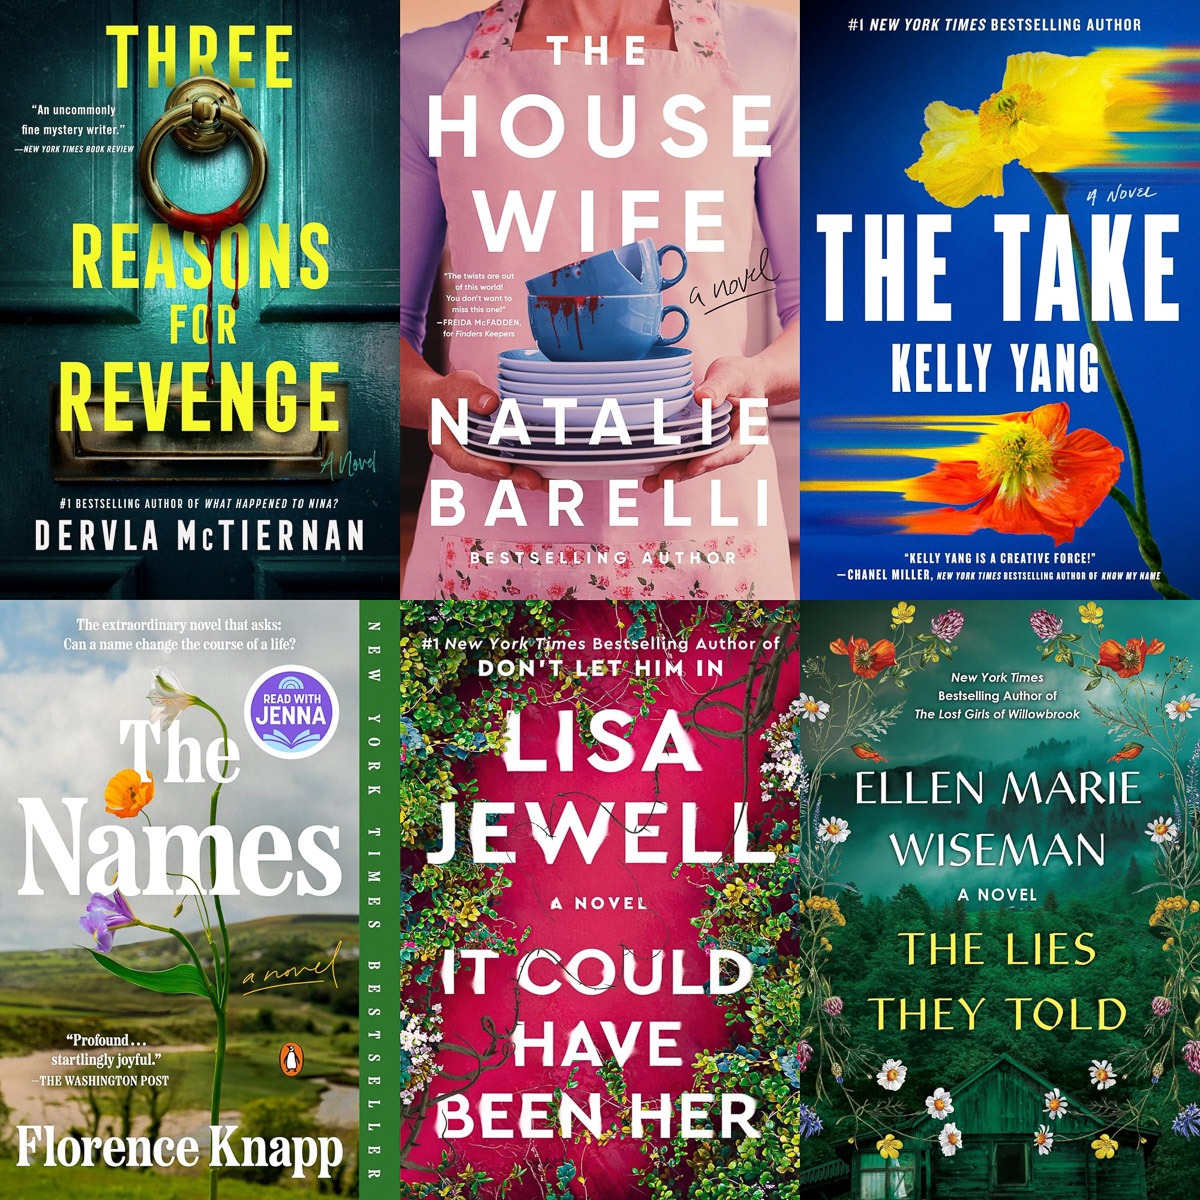
Everything I Read in August 2026

, |

The Take
I didn’t love this book but I didn’t dislike it either. It kept my attention because I wanted to know how it all played out in the end. Maggie is an aspiring writer who is struggling to make her dreams come true. When she has the opportunity to work for Ingrid Parker, a top Hollywood producer, Maggie thinks this could be her big break. Except she isn’t going to be doing a conventional job.

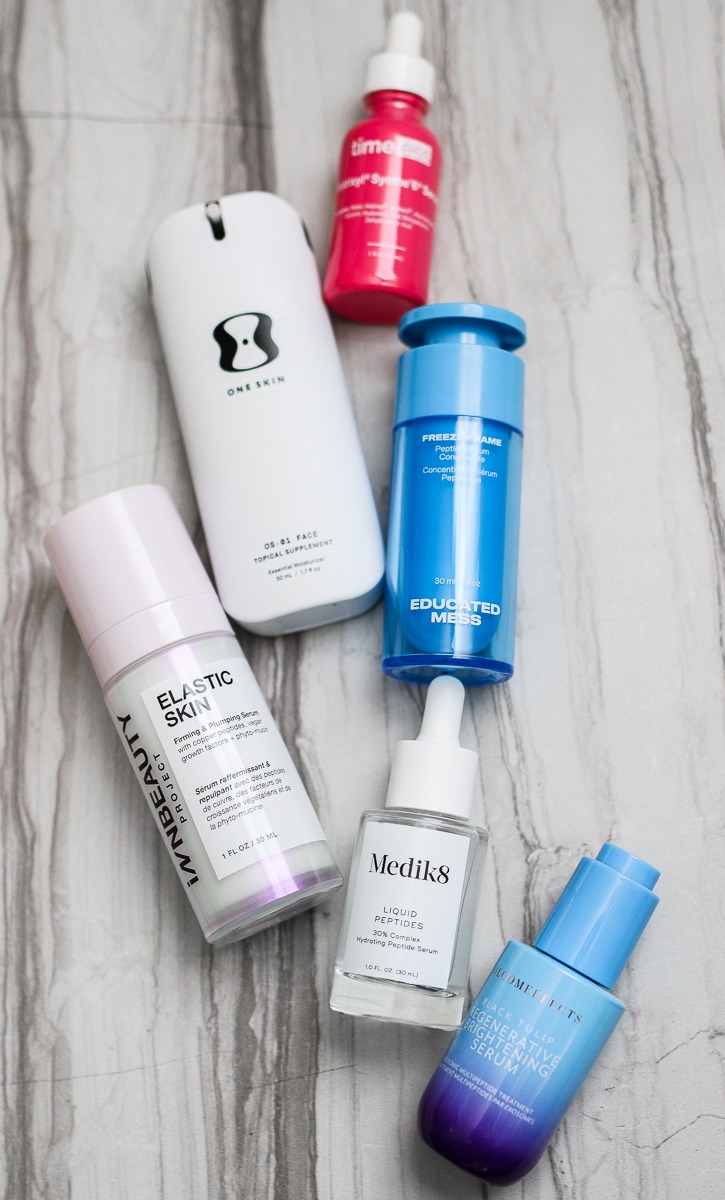
7 Best Peptide Serums

, |

I have loved skin care for nearly 10 years and find such joy in doing my skincare routine every morning and evening. I’ve seen amazing results from diligently taking care of my skin and figuring out the right products for my concerns. It can take some time to determine what those products may be and what exactly your skin needs so it’s best to start out slow and small with your skincare routine. First figure out what your skin type is (dry, oily, combination, etc) and then look for products that are suited for that skin type. Once you have identified the basics and built a solid skincare routine, it is fun to explore newer launches and trending ingredients to see what may be a fit for your skin. Technology continues to evolve and skincare products become better and better every year.

Friday Finds

|

I only have a handful of gel cleansers that I swear by because so many manage to make my skin feel tight and stripped after using. So when I find a new-to-me gel cleanser that works for my dry, mature skin, I have to share it with all of you. The texture of this cleanser is technically a milky gel which I knew I would instantly love. It makes my skin feel super clean but still incredibly hydrated and soft.

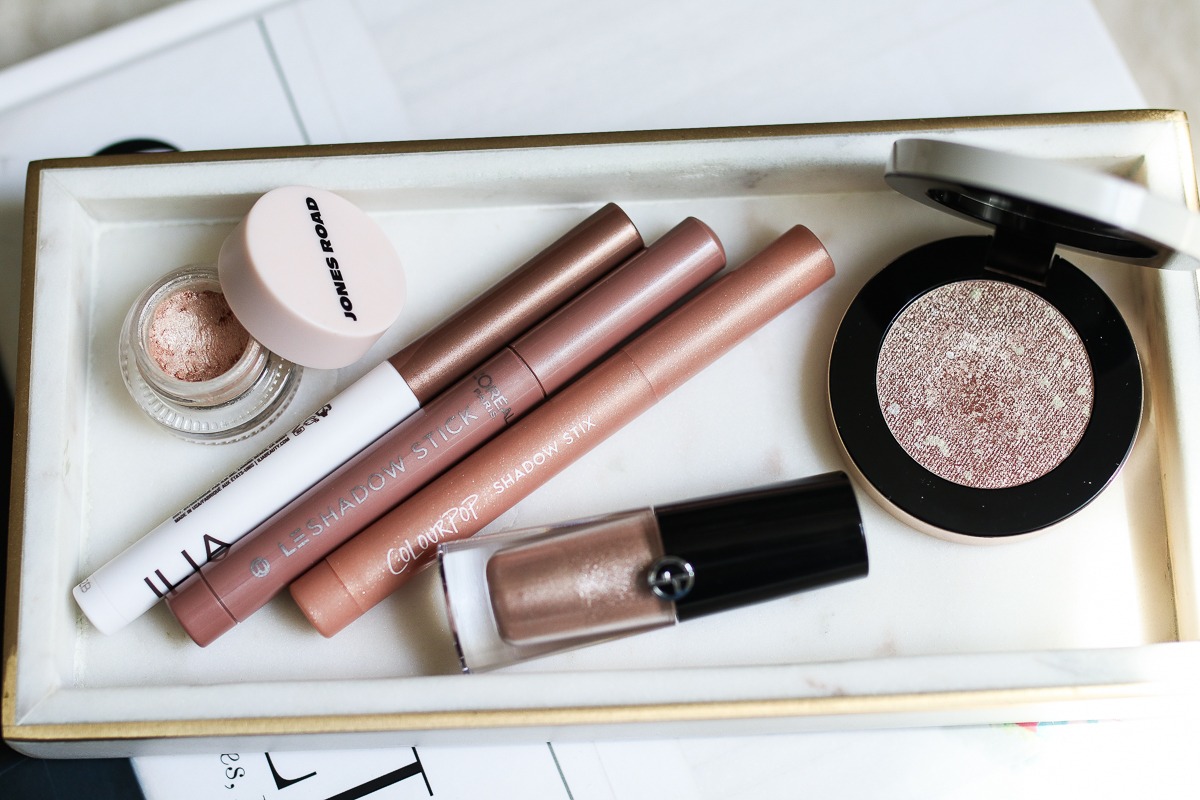
The Best Concealers for Mature Skin

, |

I’ve been testing quite a few new (to me) concealers and thought I update my blog post with all the formulas that I’m loving. There are some new additions and a few got removed in favor of other formulas I like more. As I’ve gotten older, I need a different kind of concealer that helps to conceal but still keeps my under eye area smooth, won’t settle into fine lines and doesn’t emphasize texture. If you are in the market for a new concealer and you have mature skin, this is the post to bookmark! 

SHOP MY INSTAGRAMs